Sunday, August 12, 2012

DIY sharpie mug

DIY minimalist mug
i'm in love with this DIY.
time: 30+ minutes
difficulty level: beginner
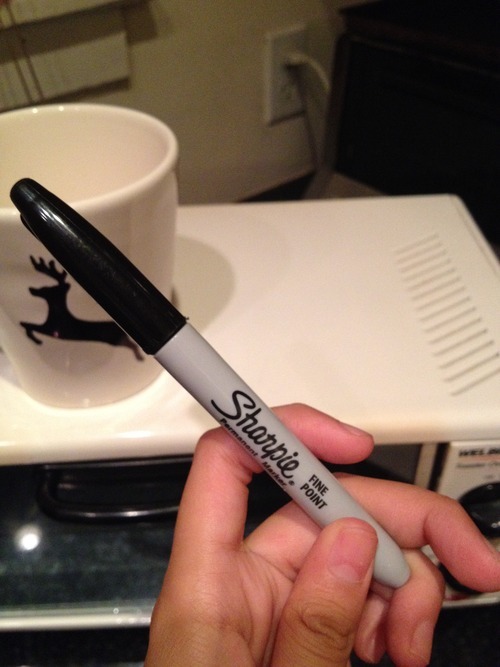
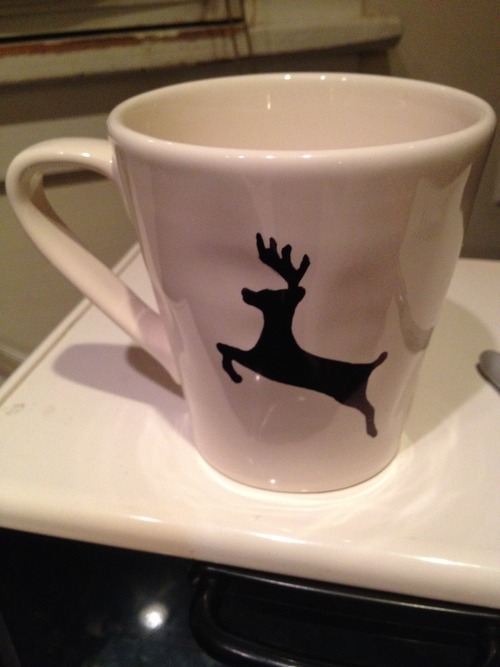
so you can make a gorgeous mug using nothing but a sharpie marker and a bit of heat.
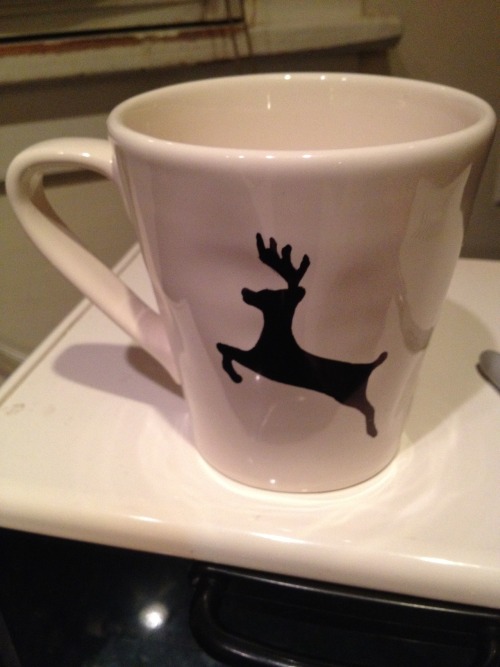
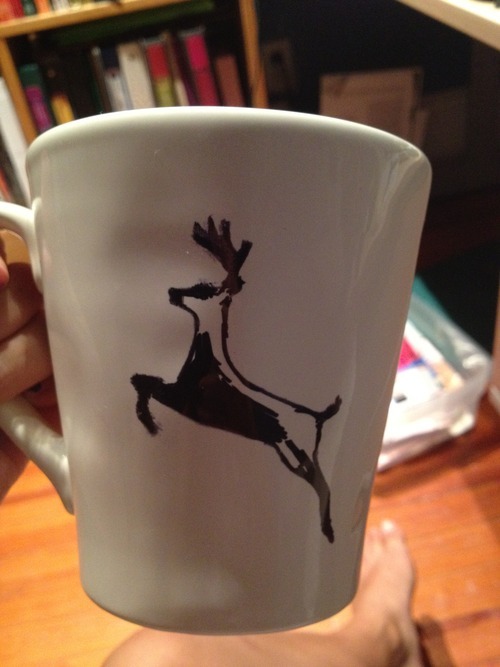
grab a plain stoneware or porcelain mug and your sharpie marker
draw an outline of your design and start coloring in. if you mess up, the sharpie comes off easily with baking soda, or rubbing alcohol if you have it. basically anything.
after you've got your design, pop it in the oven and bake it at 350 degrees for 30 minutes to "set" the sharpie. if you skip this step, the sharpie will come off when you wash it.
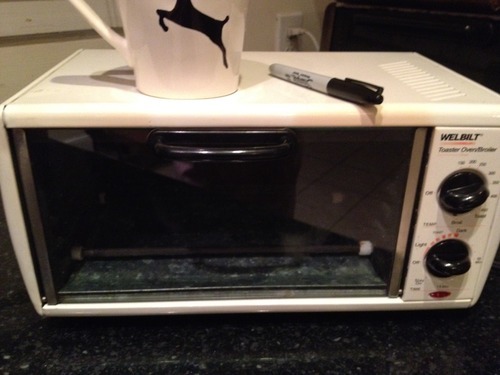
wait for it to cool completely before handling. and that's really all you need.
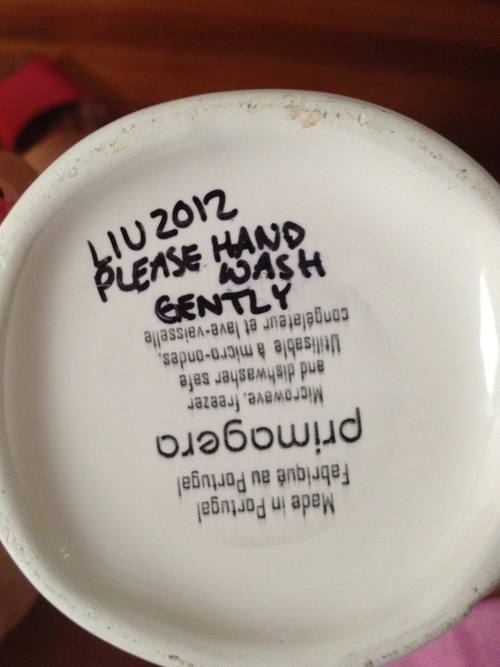
since you don't want the sharpie to rub off, don't put this in the dishwasher. i made a note at the bottom of mine to remind myself and others that it needs to be hand washed. gently.
and that's it!

Thursday, August 9, 2012

DIY wall quote


i've actually gotten questions about how i did my wall.
so here's a tutorial on how i made these tfios wall quotes.
part one: know what you're doing.
  • so i had to figure out how to cut these letters out neatly, yeah? i did some research (meaning i typed in "wall quotes" in the tumblr search bar) and found that straight, uniform fonts like helvetica seemed to look the nicest.
  • since i don't have helvetica, i chose bebas neue, which is available for download here.
  • now that you've got a proper plan, it's time to choose your quote.
  • try not to be TOO ambitious. remember, more letters equals more time spent cutting them out, taping them onto your wall, etc.
  • in my case, the quote was "my thoughts are stars i can't fathom into constellations." nice, right? thanks john!
  • first i put the sentence (without spaces) into a character counter to see approximately how much work i would have to put into creating this wall quote. 48 letters. woah.
  • to make things easier for myself, i opened a photoshop doc and typed out the sentence. then i used my tablet to just start tallying the number of each letter i would need and crossed out the ones i'd already counted. of course you can do this on paper but hey, why not.
part two: supplies!
  • right, supplies. grab yourself a stack of used printer paper. use new printer paper if you must, but you'll just be cutting letters out of them and i didn't want to waste perfectly good paper.
  • you can also use cardstock if you want these to be sturdier. my printer paper is a little heavier than others so it worked fine for me.
  • next, grab yourself some old magazines or catalogues. i used the 2013 ikea catalogue for this project because conveniently, it arrived in the post the morning after i started the project. it's lovely. if you've got one, USE IT. the colors are spectacular.
  • you'll also need an x-acto knife/craft knife. scissors are alright i guess, but much harder to use since magazine paper is so thin.
  • lay down something you can scratch/cut/throwaway as your surface. i recommend just a plain poster board (like the ones you used for projects in grade school). they're really cheap, and really sturdy. and i was working on a glass table so i DEFINITELY needed this. fold it in half for a thicker surface, and get to cutting.
  • ALSO, you'll need some sort of word processor/photoshop. it's for the letters!
part three: actually making your letters
  • got your printer standing by? open up photoshop and start typing your letters. i fit two on a page (using a really arbitrary font size: 717 pt) and it was the perfect size for my wall. print out only ONE of each letter you'll need. in case you haven't figured it out, these will be your templates.
  • use your knife to cut out one sheet of the magazine at a time. it's much easier to work with.
  • lay down one of your letters over the area you like, and cut! the ikea catalogue generally let me get two letters from each page, depending on the size/shape of your letter.
  • this process took a few hours for me, so make some tea, watch some tv, or listen to some music to pass the time.
part four: perks of being a wallquote
  • now that you've got all of your letters, check out your wallspace (okay maybe i should've recommended you do this earlier. but if you're going to start this project, you probably did that already, eh?)
  • get some tape. i used masking tape. first i pulled out a long strip, stuck an end on my desk, and used scissors to make cuts (but not all the way through) so i could easily pull off little strips to make into tape loops. this seemed to be the fastest way to do all this.
  • it might help to put tape on the BACKS (please don't forget) of all your letters before you start putting them up.
  • put your first letter up as straight as possible. this will end up being your guide for the rest of your letters. it might help you to take a long piece of tape and use that like a ruler sort of thing.
  • line up your letters the best as you can, and you'll be on a roller coaster that only goes up, my friend.
  • be delicate! since the paper is so thin, these will rip easily if you handle them too roughly.
and now you've got a lovely wall. 
dftba! like or reblog if you found this helpful? i want to make more posts like this in the future.